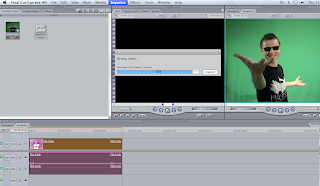
 hnology allows you to put a different background or scene onto a piece of video footage using software, downloads and phasing the chroma key layers in and out.
 After uploading your footage into Final Cut and dragging it onto the timeline, the video must be rendered in both parts in order to edit. You can do this by clicking sequence on the toolbar along the top of the page > render > both parts. The video clip is now ready to edit.

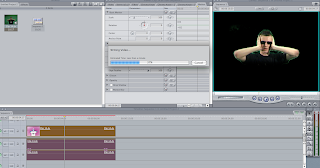
To transfer the background from a green screen to the background you want you first of all go to video filters on the toolbar at the top of the page > key > chroma key. Once you have selected the chroma key tool a layer will appear with 3 colour scales on it, select the colour select tool which is given as an option in the box and highlight the background. You can fade the green colour in and out until it turns black which means other layers can then be added and seen. If some green still appears click the motion tool and fade it out carefully. You can also cut the size of the clip using the razor tool shown at the bottom of the video clip screen.
No comments:
Post a Comment